Ernährung
Searing 101: Become a Searing Master
Welcome to the world of perfect searing! Whether you want to prepare a juicy steak, a fresh fish fillet or a simple egg, proper searing is the key to unparalleled flavor and texture. But how do you actually fry properly? Many home cooks are faced with the challenge of achieving a golden brown crust without […]

Welcome to the world of perfect searing!
Whether you want to prepare a juicy steak, a fresh fish fillet or a simple egg, proper searing is the key to unparalleled flavor and texture.
But how do you actually fry properly?
Many home cooks face the challenge of achieving a golden brown crust without burning or making the dish too dry. Don’t worry - with the right techniques and a little practice, you’ll soon be excelling in the kitchen like a pro.
In this guide, we’ll show you step-by-step how to master searing, from the right heat to the perfect contact and all-important patience. Let’s learn the basics together and take your cooking skills to the next level!
# 1. The magic of perfect searing
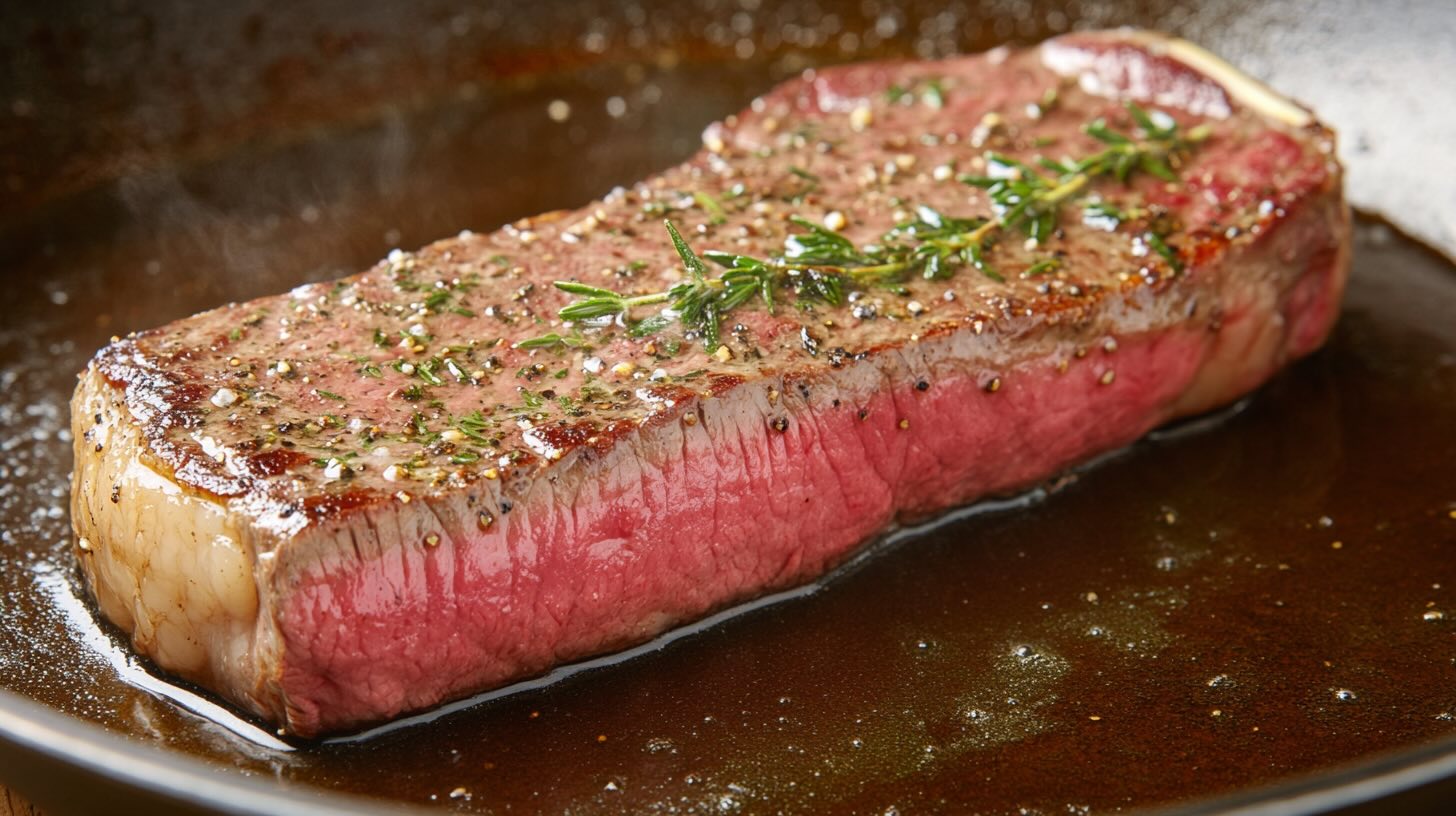
Whether you’re frying an egg or searing a grass-fed bone-in ribeye steak, a proper sear takes your dish from good to great. It’s that crispy crust that forms along the Eiweiße or the dark brown on the surface of the steak that looks like a work of art. Searing adds texture and takes the flavor experience to a new level - it makes it professional. Once you master it, you’ll want to use it everywhere. The good news? It’s not that complicated. All you need to know are three basic things.
Searing is not just a technique, but an art form that any home cook can master. Imagine the hissing sound of hot fat filling the kitchen and the smell of perfectly cooked meat or a fresh Ei enveloping your senses.
That golden brown crust is the secret behind the dishes served at top restaurants, and now you can recreate it yourself at home! Whether you’re a beginner or have some experience, this method will revolutionize your cooking skills. The three key principles we’re about to discuss are easy to implement and don’t require expensive equipment - just a little practice and patience.
# 2. The heat factor
Without sufficient heat there is no searing. Too much heat and you’ll burn it. The trick is to always find a happy medium. What’s important is that this is about the fat in the pan, not the pan itself. There’s no point in having a hot pan if you don’t give the fat enough time to reach the right temperature.
A hochwertige Pfanne helps enormously here. It regulates the heat better and fluctuates less. A heavy cast iron pan or one made of stainless steel will serve you well for a long time.
Heat is at the heart of searing, but it requires sensitivity. If the pan isn’t hot enough, the meat will remain pale and mushy - a rookie mistake you want to avoid. On the other hand, temperatures that are too high lead to burnt aromas and a bitter taste.
The secret is to slowly bring the fat – be it butter, lard or the meat’s own fat – up to temperature. A cast iron pan that has been passed down through generations of families or a modern stainless steel pan with good heat conduction are ideal tools. Before adding your meat, test the heat: a drop of Wasser should evaporate immediately, but not burn immediately. Over time, you’ll develop a sense for when the pan is perfect - a moment that experienced chefs call the “sweet spot.”
 ## Templeshape’s
# healthy cookbook:
# Nourish From Within***
# 3. Contact with the pan
Now you have the tallow in the pan and it is sizzling. It’s hot. It’s ready to channel all the heat from the flame into whatever you’re cooking. To achieve the perfect sear, you need to maximize contact. Press the steak or red snapper fillets firmly onto the pan. Every possible inch must be in contact with the pan.
Contact between food and pan is crucial to creating that beautiful crust. Imagine lightly pressing a juicy ribeye steak onto the hot surface with a heavy spatula - every unevenness is evened out and the heat can work evenly.
The same goes for a delicate fish fillet like redfish: firm but gentle pressure ensures that no air bubbles disturb the perfect browning. Many beginners make the mistake of just placing the meat lightly and hoping that it will fry itself - that doesn’t work. Use the first few seconds to make sure the entire surface is in contact and you’ll taste the difference immediately. With practice, this step will become second nature, and your searing will become more precise each time.
# 4. The patience factor
This is the easy part, but this is where I see most people make mistakes. Once you have steps 1 and 2 under control, you are already 80% there. All you have to do now is wait. You don’t mess with it, you don’t turn it over, you don’t even touch the pan.
Just wait. This is where all the magic happens. You let the crust form on its own and it will come off the pan on its own. Wait about 2-3 minutes and then test with your spatula. It should separate beautifully from the pan. And there you have it. You’ve mastered searing. Keep these three things in mind the next time you fry something and I guarantee you it will turn out much better.
Patience is the biggest challenge – and at the same time the biggest learning process. Many cooks, especially the impatient ones, turn the meat over too soon, only to find that the crust is not yet formed and the piece is sticking. The key is to trust the process: the Maillard reaction, the chemical magic behind the crust, takes time.
After 2-3 minutes, you can gently rock it with a spatula - if it comes away, it’s ready. If not, give it another moment. This waiting time is also an exercise in mindfulness: use it to enjoy the scent and prepare for the next step. Once you master this art, you’ll find that your sear not only looks better, but also tastes more intense. It’s that moment when you feel like a pro - and with just a little patience!
By the way, you can also experience the whole thing in unseren Retreats in Crete or Fuereventura, where we have fantastic private chefs on staff.

# 5. Application and invitation
Now that you understand how easy it is, you’re probably itching to whip something up in the kitchen, and there’s no better place to share your creations with the Templeshape community after the Workouts.P.S. An easy sear that you can get perfect is a grass-fed ribeye steak. Season it with salt and let it rest in the fridge for a day. Trim some fat from the edge and leave it in the pan, dry the steak and off you go. If you’re feeling brave, throw in a freshly caught sea bass fillet.
With these three steps, you’ll be ready to create your own masterpiece, and the community is waiting to celebrate your achievements! Share photos of your perfectly seared steaks or fish, exchange tips with other enthusiasts and learn from their experiences.
Finally, a little tip to get you started: A grass-fed ribeye steak is ideal for testing your skills. Brining overnight draws out the moisture and creates an even better crust. The rendered fat adds additional flavor, and a dry-tipped steak sears more evenly.
For the brave among you: A freshly caught sea bass fillet is an exciting challenge - the delicate texture requires a little more caution, but the reward is an incomparable taste experience. So, grab your pan and let’s master the art of searing together!